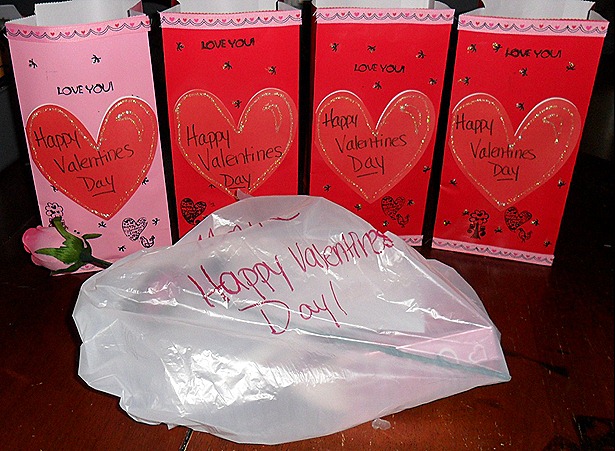
Hi Everyone hope you have a great day today. Here’s The Valentines Treat Bags I made for my kids today. Took about an hour if that. Here are the supplies you need:
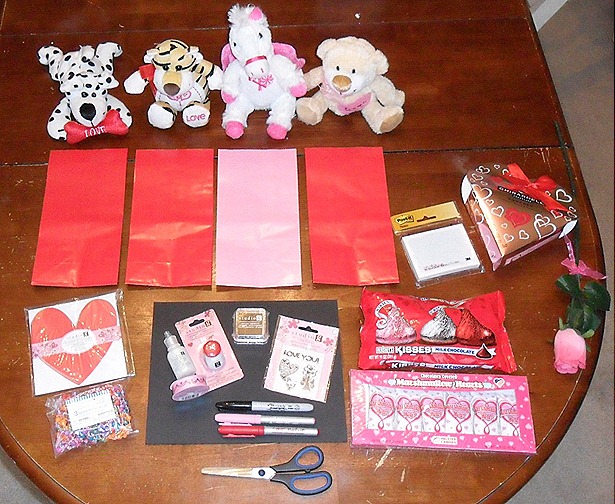
I shopped at Walmart’s Seasonal $1 scrapbooking section, its different in every Walmart you go to, but you need to find it, saves time and money.
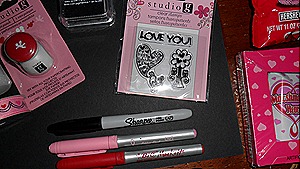
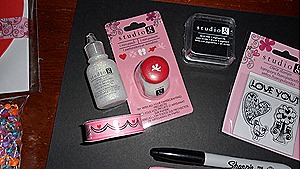
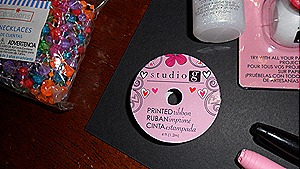
I purchased: 4 stuffed animals $2.97 each, 4 bags $.25 cents each, Studio Cards $.97, Studio Cupid Stamper, $.97, Studio Glitter Glue $.97, Studio Ribbon $1.00, Studio Stamps and Stamper each $1.00, 2 Sheets Black Cardstock (already had), 3 Sharpies 1 Black, 1 Pink, 1 Red, 8 Mardi Gras Necklaces (Party Section) $1.00, Hershey’s Kisses $3.00, Marshmallow Hearts $2.00. Other Items you need are Scissors and Glue Stick. Oh and the items on the Right are for my hubbys gift.
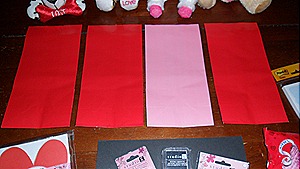
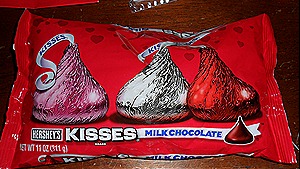
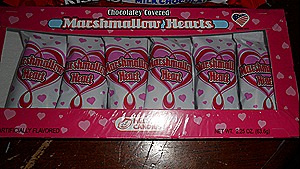
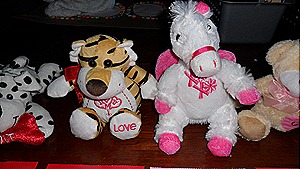
So Lets get started.
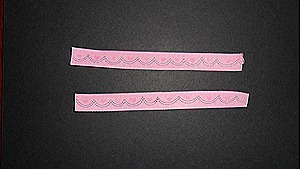
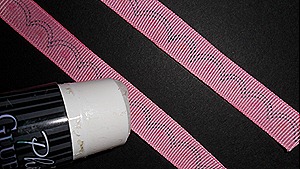
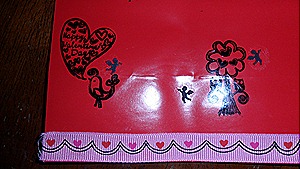
1. I First laid out the ribbon over the 4 bags measuring the top and bottoms and cutting the ribbon according to width of bag.
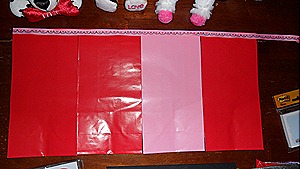
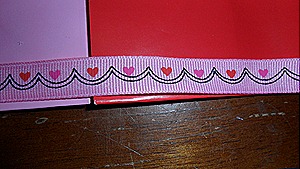
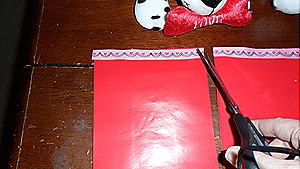
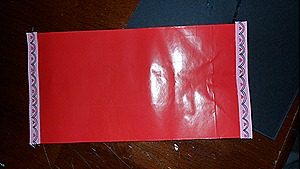
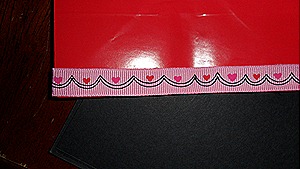
2. I then pasted the ribbon strips to the top and bottom edges of the bags.
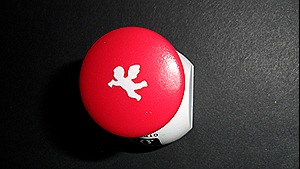
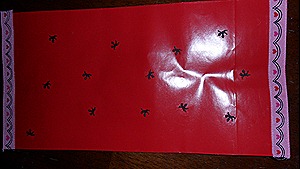
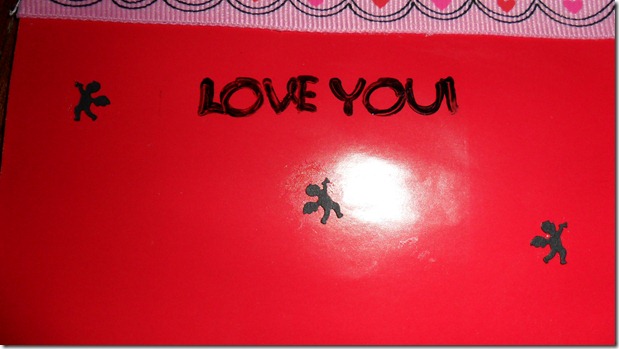
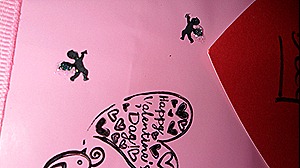
3. Next, I used the Cupid Punch on Black Cardstock to punch out about 12 Cupids, they are so tiny and cute…

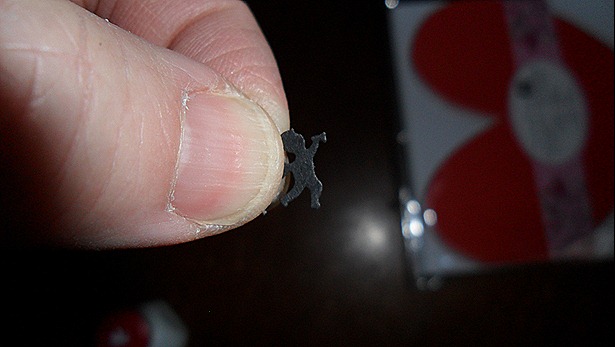
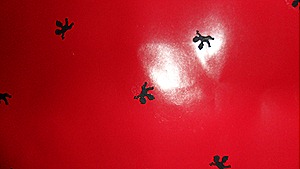
4. I then applied the mini cupids to the bags with a glue stick. I laid them on the glue stick then slid them off with my fingers to apply the glue to the underside. Then I sprinkled them all over the bags randomly.
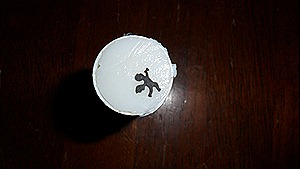
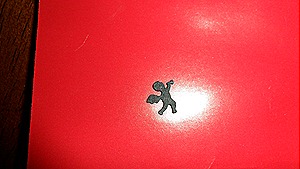
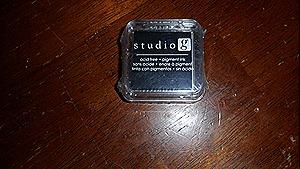
5. I used the Valentines Stamps and stamped them in Black Ink onto the bags.
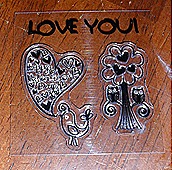

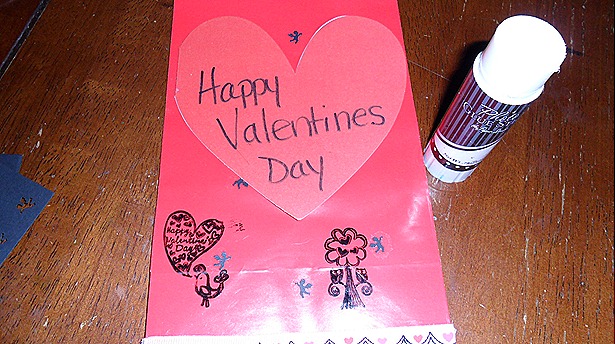
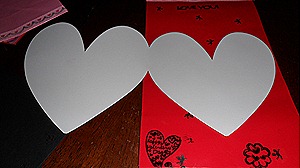
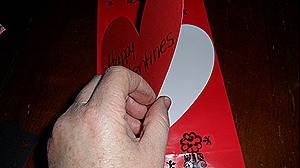
6. I attached the card with glue stick to the bag directly, wrote my sentiments on the front of the card and inside. I also put a tad of glue on the inside so that the card would stay shut.
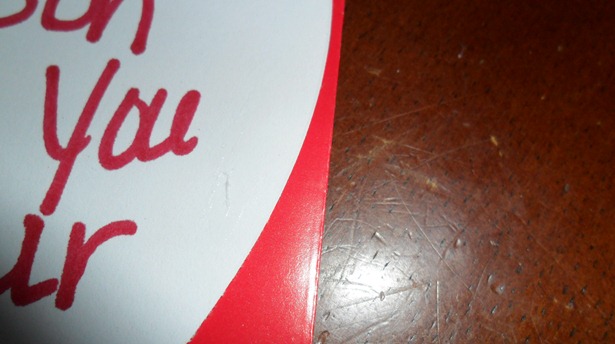
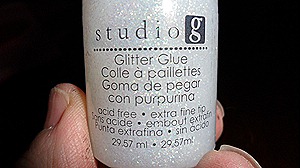
7. I then decorated all of the little black cupids wings with Glitter Glue.
8. I Filled the bags up with the Goodies I got them.
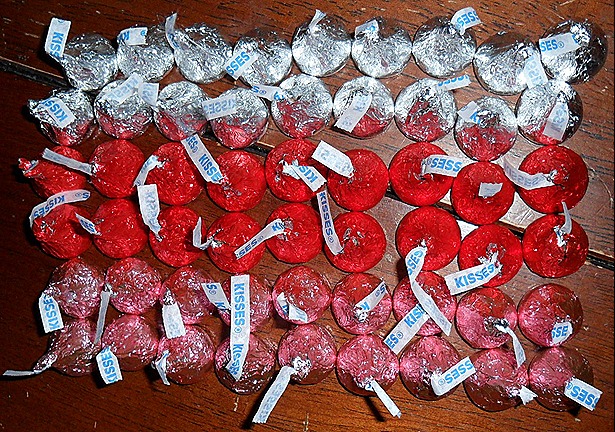
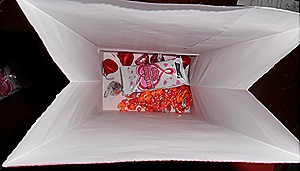

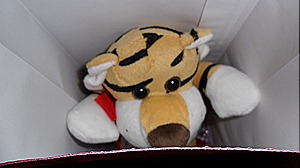
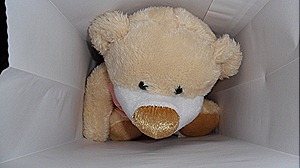
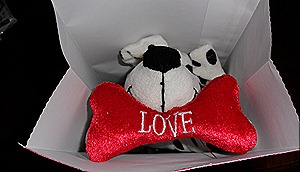
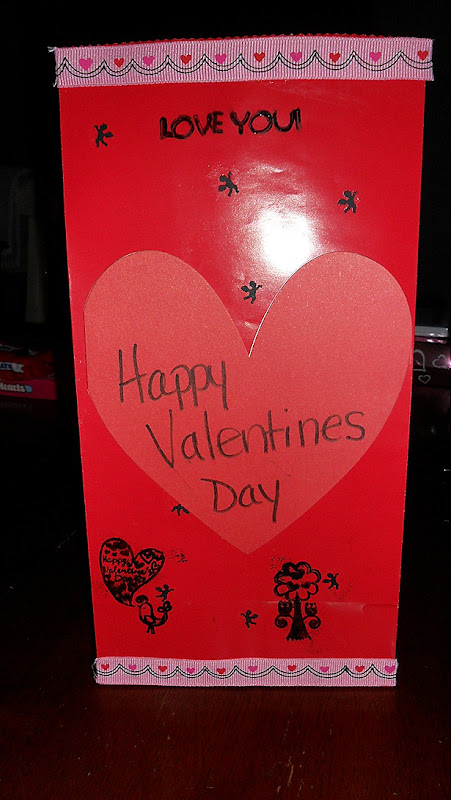
So Here’s the finished Product.
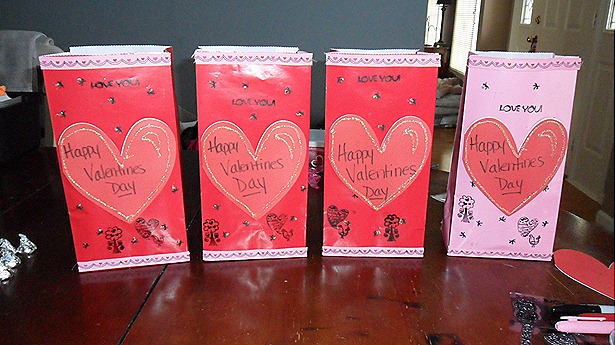
I had fun with this and it was under $20 for 4 kids and they’ll appreciate that I took the time out to do it for them. I love my kids sooo much. Here’s what I got my hubby for Valentine’s Day, just gave it to him at lunch.
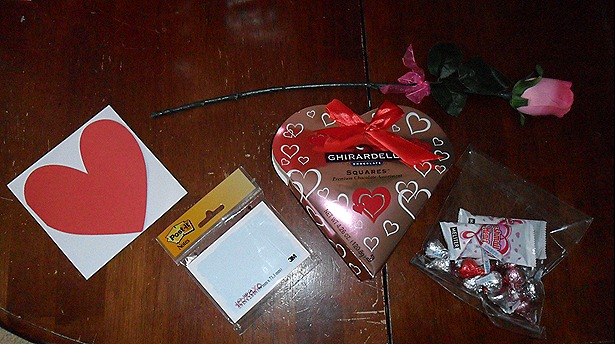
I gave him XOXOXO post-it notes so that he could write love notes back to me, see ladies a gift that keeps on giving. I reused the bag for the cards for the rest of his candy.
There is a card that I wrote this on the inside:
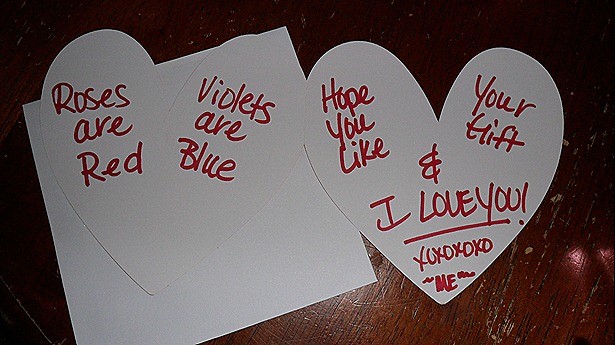
We’re going out for dinner and a movie this Friday night. We normally don’t go anywhere on Valentine’s Day because I loathe the crowds and waiting in line, so we either go the weekend before or after. Thanks for reading, and Happy Valentine’s Day to you ALL!!!

