2 Minute Microwave Scrambled Eggs in a Mug

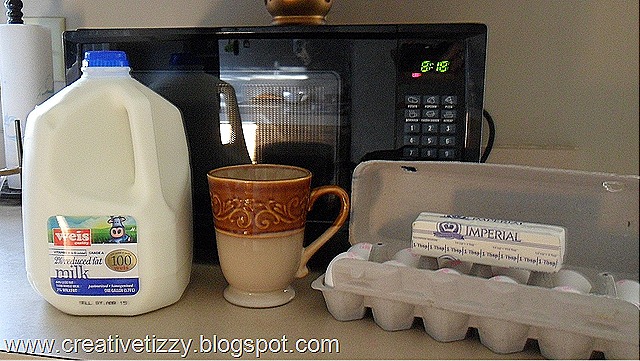
When I’m not making my low calorie eggs on the stove and don’t really feel like cooking, this is what I do. This breakfast is so easy even a cave person could do it, hehe!! Here are the ingredients:SAM_0860

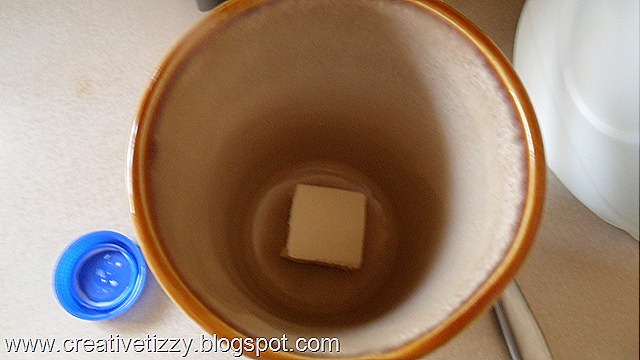
The first thing that you want to do is add 1/4 teaspoon butter or margarine into the mug, slide it around the bottom so that the eggs won’t stick, there should be no chance of that since we’re using milk, but I use it and it also adds flavor. SAM_0863

Next you want to add 4 tablespoons milk, 2 for each egg.SAM_0866

Next crack your eggs into Mug. SAM_0867

Stir briskly with a fork till all scrambled, butter will be in chunks, but that’s normal.SAM_0868

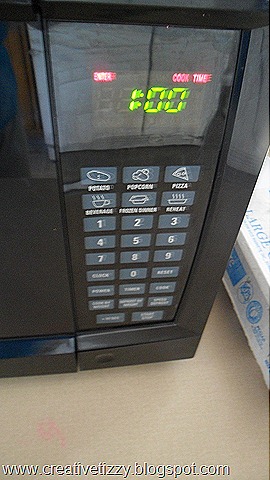
Microwave on High for 1 MinuteSAM_0871

This is what they look like after 1 Minute, your half way there, now put them into the microwave for 1 more Minute.SAM_0873

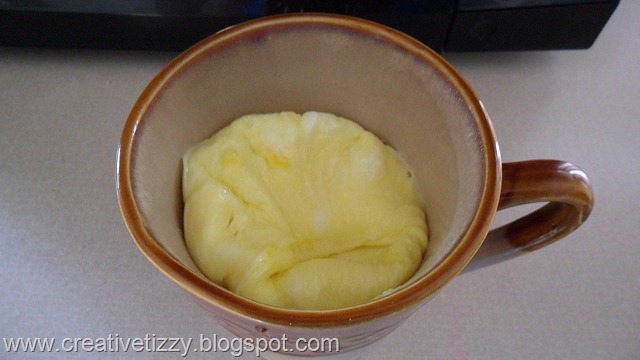
All Done and scrambled up nice and fluffy.SAM_0874

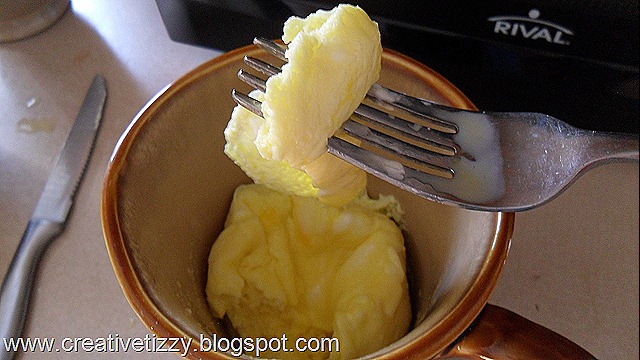
A close up shows how nicely cooked they get.SAM_0875

It’s time to eat them so now I have to go. By the way I made 3 links of precooked frozen turkey sausage, they took 1 1/2 minutes. Then a side of fresh spinach with a little butter and that took 1 minute, a total of 4 1/2 minutes cooking with my microwave. Not a bad breakfast for 1. Now go give this a try. It’s fun, fast, and yummy! ~ChristinaSAM_0878

No waste proper Avocado picking, peeling, and storage tips and tricks

This is a quick follow-up to my Lemony Avocado Tuna Salad Sandwich post where I used Avocado. Well I happen to think that I am a Master at Avocado picking and peeling with no waste.

Here is what I do: First, I test for how firm an Avocado is, depending on when I am going to use them, or if I am going to wait to use them. If I use them right away I make sure they have a little give, sort of semi-firm, the next day they should be perfect to use.  The color should be dark green almost black. If they are all the way black then they are too mushy and will be bruised and almost rotten inside. If I am going to wait a couple of days I buy the green ones and ripen them at home. I’m impatient so that is very rare for me unless I have no choice.

Tip: Be weary of the little sticker that says, RIPE, because that usually means they are not for you to eat, they are past their prime.

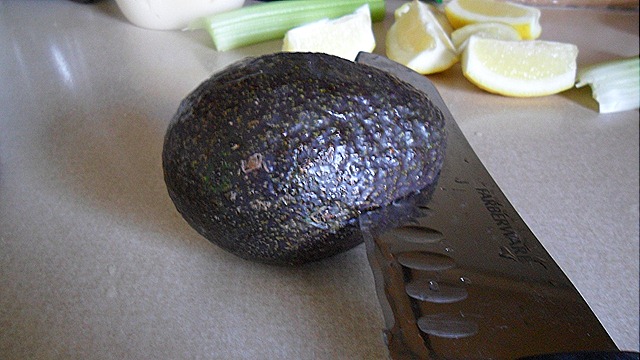
I then score with a sharp knife around the middle while turning the avocado. SAM_0844
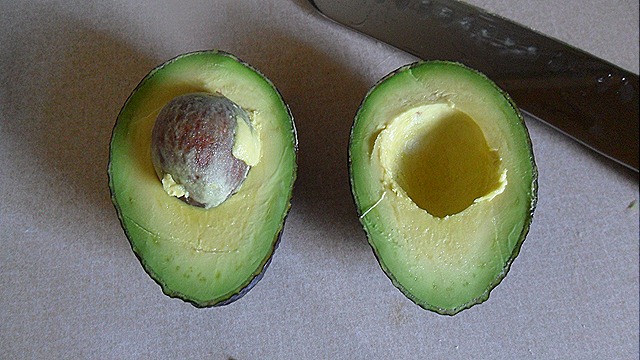
Next I twist the Avocado to get two separate halves.SAM_0845
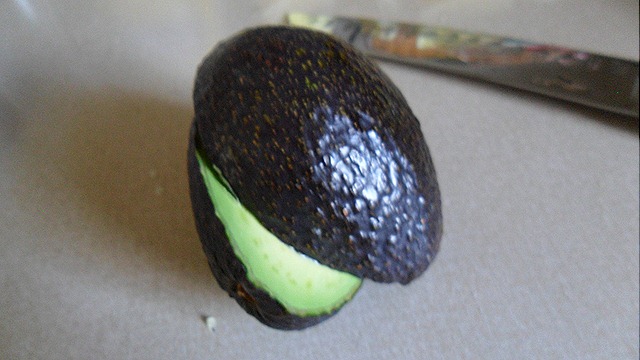
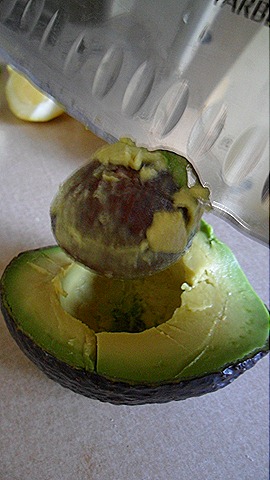
Shown here with nut attached. SAM_0847

So really, how do you properly get the nut out with the most meat left.  Pop knife into the nut while on counter, then hold half and twist it out and it should release. Now the Avocado I had was a bit too soft for doing this so it did get a little messy, but if it was a tad bit firmer it would have released with practically nothing attached to it. Easy!!SAM_0849
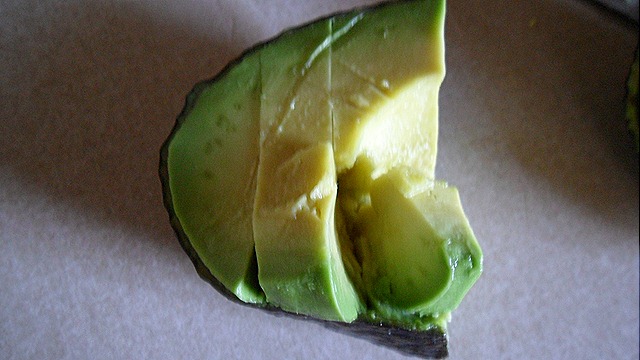
Score the half Avocado several times you can even do cross cuts too, but I have found slicing is easiest to remove and cut it in half shown here: why do I cut it in half again, well it makes it so easy to peel the skin right off. I don’t show the peeling part but if you have a perfectly ripe Avocado then the skin should peel off with no meat left in it. Like turning a page to a book, or peeling a banana. Be gentle and you’ll get everything out, no need to use a spoon. Guaranteed!!SAM_0851
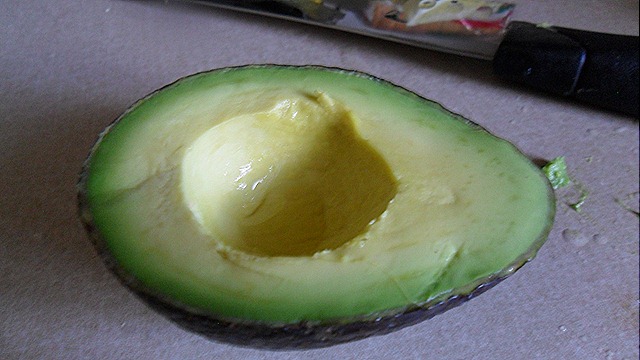
Here’s the best part, if your not using the other half and want to use it the next day (recommended) then add lemon juice to it to stop it from browning and adds a little flavor too. SAM_0854
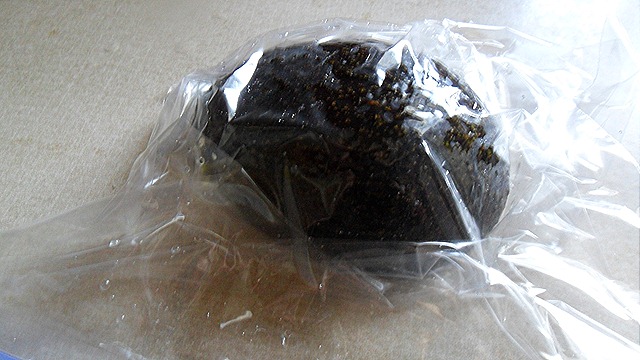
Stick in a plastic baggie and get as much air out as possible, helps with no oxygen getting to it either.  SAM_0855
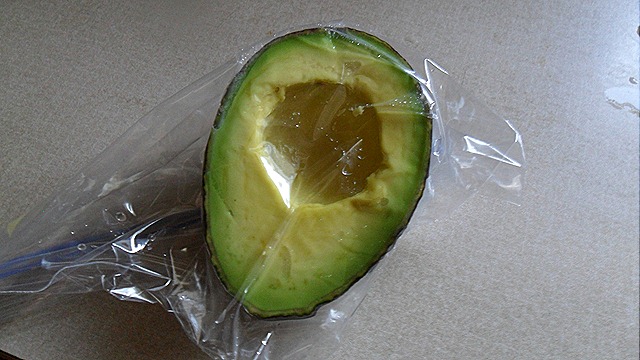
Turn upside down, well why you ask, well I’ll tell ya: this keeps it from getting any air to the meat. Then store in the fridge upside down till the next day, and you will find there is really no oxidation. So try it, hope this helped you out. ~Christina SAM_0856
Lemony Avocado Tuna Salad Sandwich

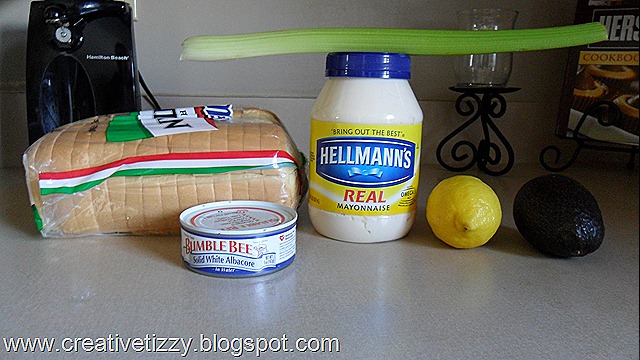
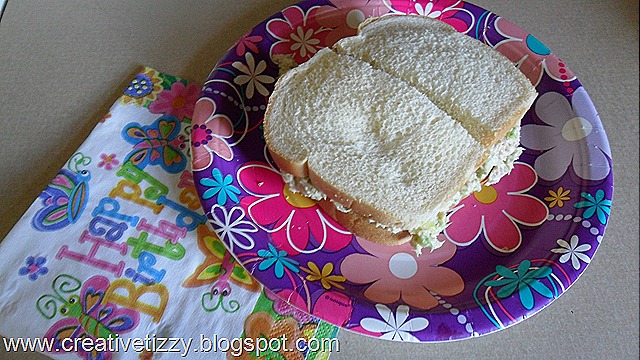
So I love Avocado and try to put into everything, even my Oatmeal, just kidding! Anyways, this could be a lower calorie sandwich if you substituted the white Italian bread with Multigrain or Potato bread and using vinegar and olive oil dressing with herbs mixed in. I chose the fattening route, hey once in a while its ok. All in moderation.SAM_0829

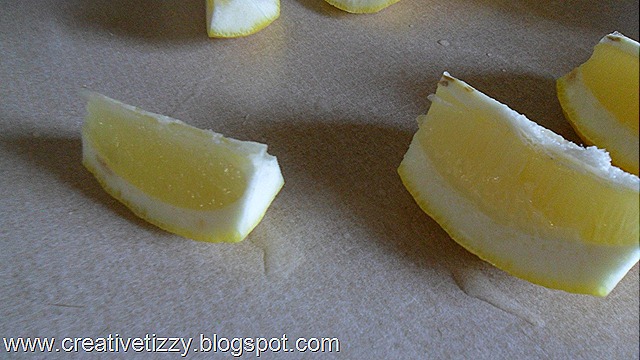
You start out cutting up the lemon, SAM_0835

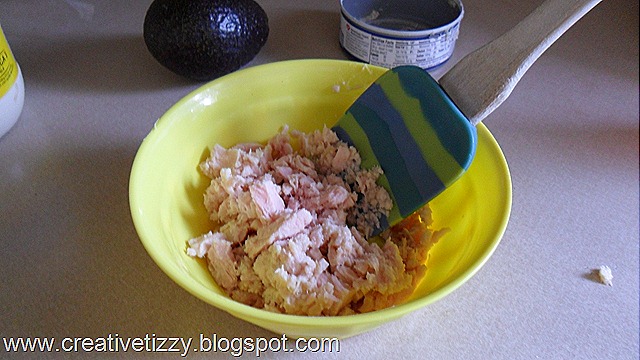
Add your whole can of tuna to a bowl and break it up, squeeze lemon onto tuna, mix in.SAM_0837

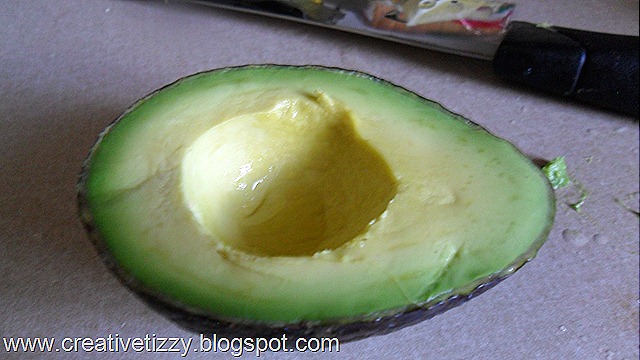
Now add 1/2 an avocado after you‘ve cut it up. I will be posting a short tutorial on an easy way to cut up an avocado without wasting any of the meat inside, following this post.SAM_0854 

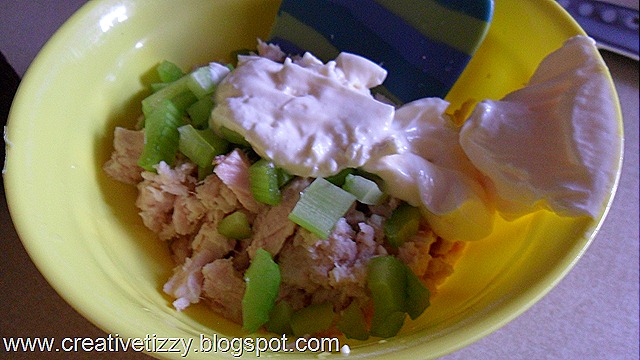
Cut up your celery (for crunchiness) and add to the mix.SAM_0840

Add 2 tablespoons of mayo and stir.SAM_0843

I added salt at the end, but you could omit it. There are different variations you could do, so knock yourself out. It was a yummy sandwich. ~ChristinaSAM_0858

Bottomfeeder Snack Mix…Easy How To

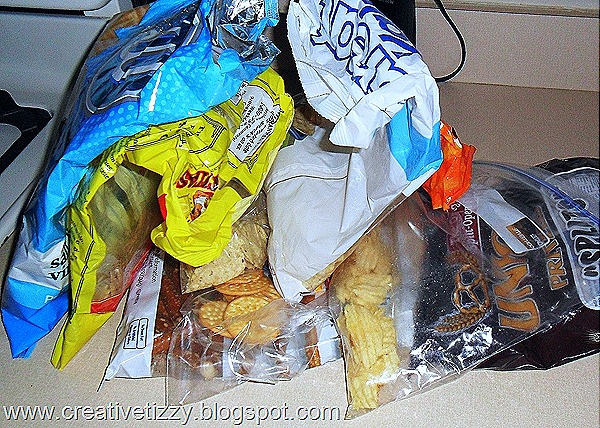
Your probably wondering what Bottomfeeder Snack Mix is. Well it’s a term I’m using to describe the combined bottom of the bag snacks, I currently have in my pantry. I really get tired of the many wandering leftover snacks, so I decided to do something about it. Here is the before…. SAM_0820

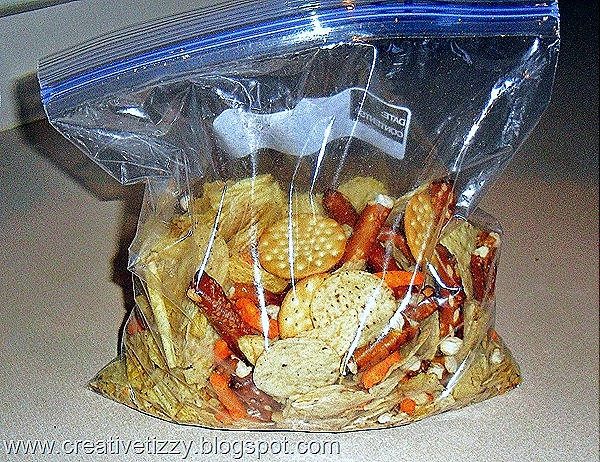
Here is the After, it was an Ahhh Moment. I dumped every snack that was dwindled down to the bottom into a Gallon sized baggie. Now it not only looks fresh, but its something my kids like. So now instead of throwing out the bottom of the bag scraps, they now have purpose, to be EATEN. Hope I’ve inspired you to clean out your pantry and repurpose your wandering leftovers. ~ChristinaSAM_0823

Related Posts Plugin for WordPress, Blogger...